
Don’t worry; nobody saw your table dance.
I tell ya. The older I get, the harder it is to bounce back from a night of debauchery. The morning after a few glasses of wine? I basically look like I’ve never heard of water.
The headaches I can handle, but dull, dehydrated skin? This aggression will not stand, man!

(Dramatic reenactment)
Though my spooning-with-Tostitos days have subsided (thank god), these are the Fancy Party months (read: open bar season). And this advice is timeless, yo. It’ll save your ass when you went a little too hard during Happy Hour and have to pretend like you don’t need to quietly vomit in your trashcan. Don’t be that guy.
You don’t have to follow every single step, but if you can slap a few of these products on your face in some semblance of order, you’re on your way to making yourself look human again.
Step 1: The reckoning
Alcohol seeps through pores as overnight, so you’re basically marinating in a pungent film of sweat and tequila. Yay!
Showering is non-negotiable, Margaritaville. No matter how complicated it sounds.
Oh, that’s where that went.
Got enough time to wash and style your hair? Awesome! Do that!
If not, spray a generous amount of dry shampoo into your roots to absorb the sweat, oil, and dirty-hair smell. Spritz the rest with a texturizing spray (love Oribe Après Beach) and twist hair into two little buns while you go about the rest of your routine. The steam from the shower (that you are absolutely, definitely taking) will help set your waves.
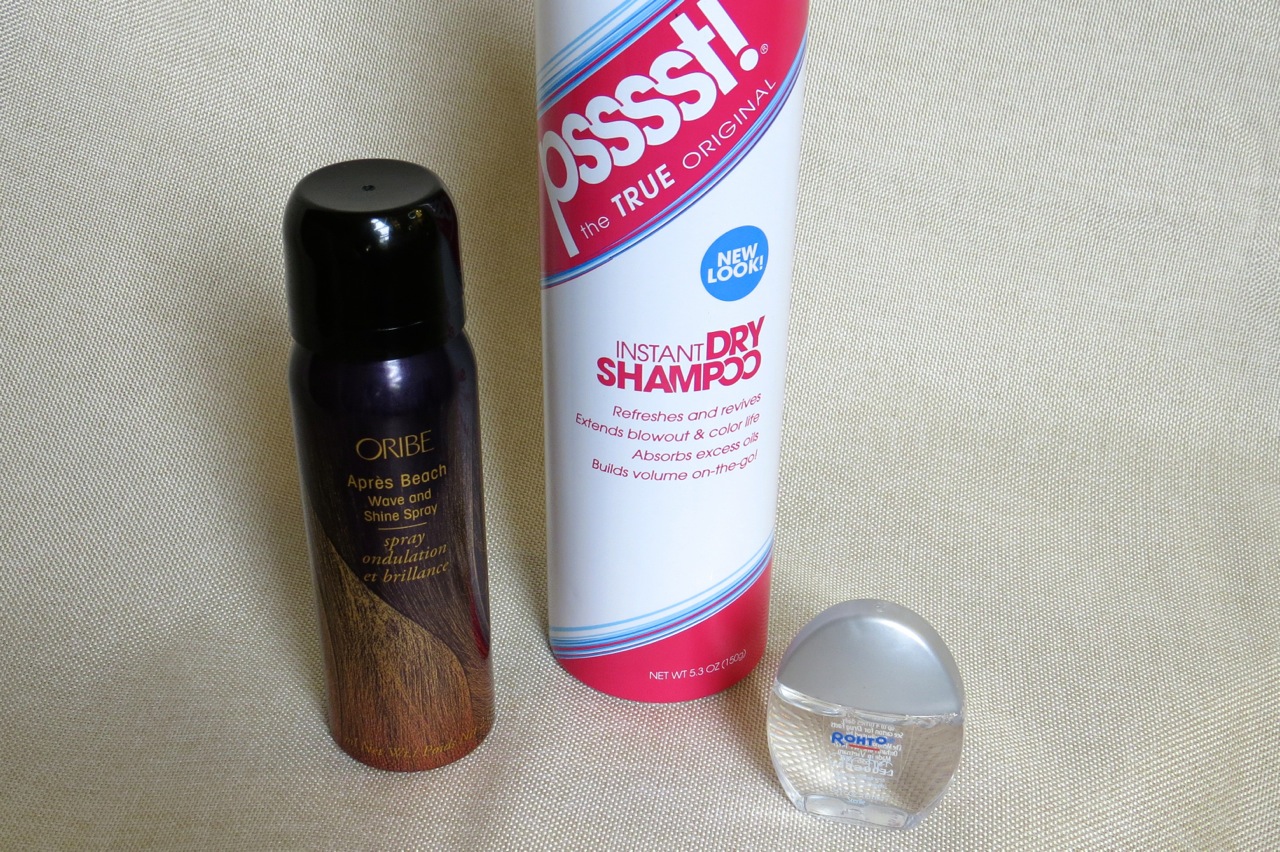
Crack open those eye drops for bright, white eyeballs that say “What open bar?”
Step 2: The purification
If only your wicked soul were this easily cleansed
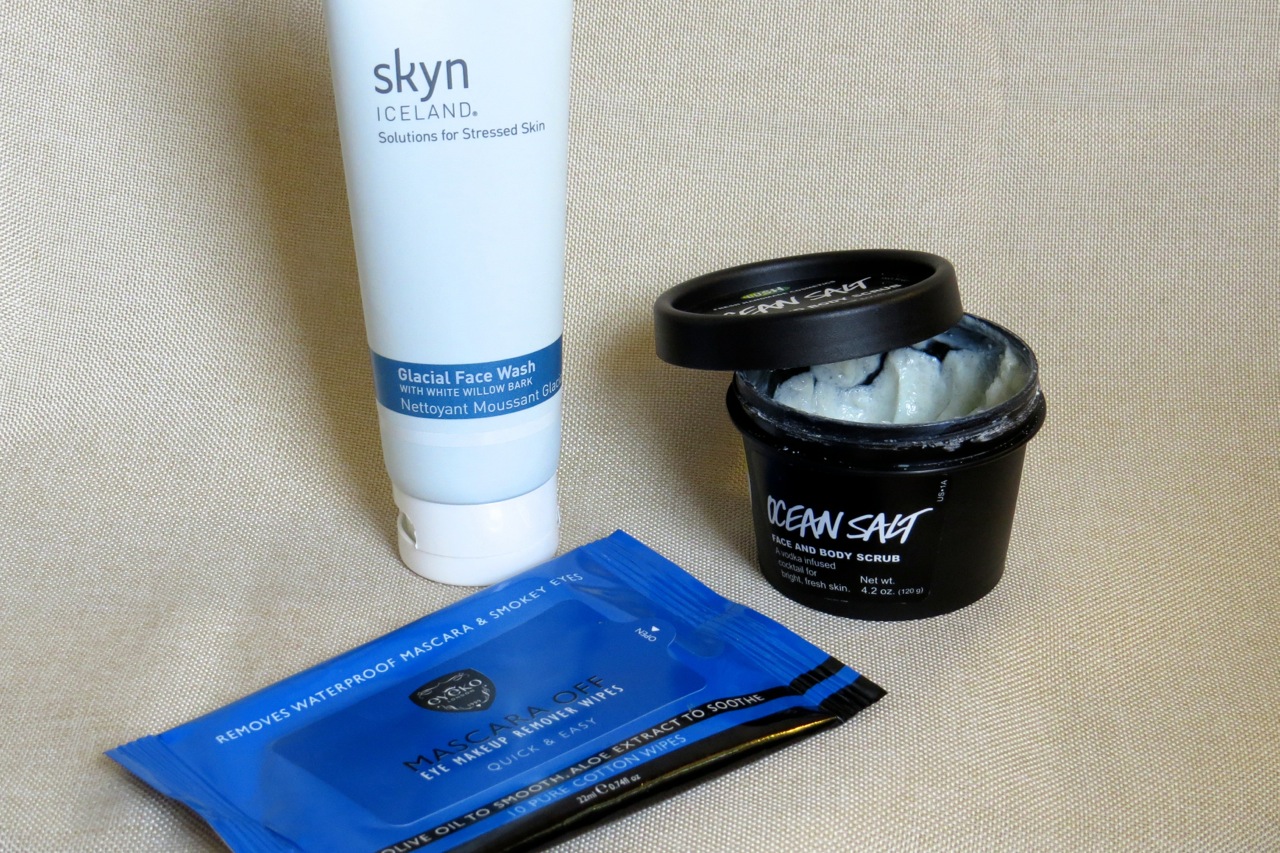
These Eyeko Mascara Off remover wipes stay super-moist to gently remove even the smokiest of eye makeup from wherever it has migrated. For the rest of your face, Skyn Iceland’s Arctic Facial Wash is amazing for stressed-out skin: it instantly calms redness (and the tingle makes me feel like I’m in a Dentyne Ice commercial).
Lush Ocean Salt Face and Body Scrub is a “cocktail” of lime, sea salt, and vodka–with coconut and avocado for moisture. Don’t worry; the scent is clean, fresh, and doesn’t smell like alcohol in the slightest.
Sorry I said “alcohol.”
Step 3: Skin rehab
The big guns
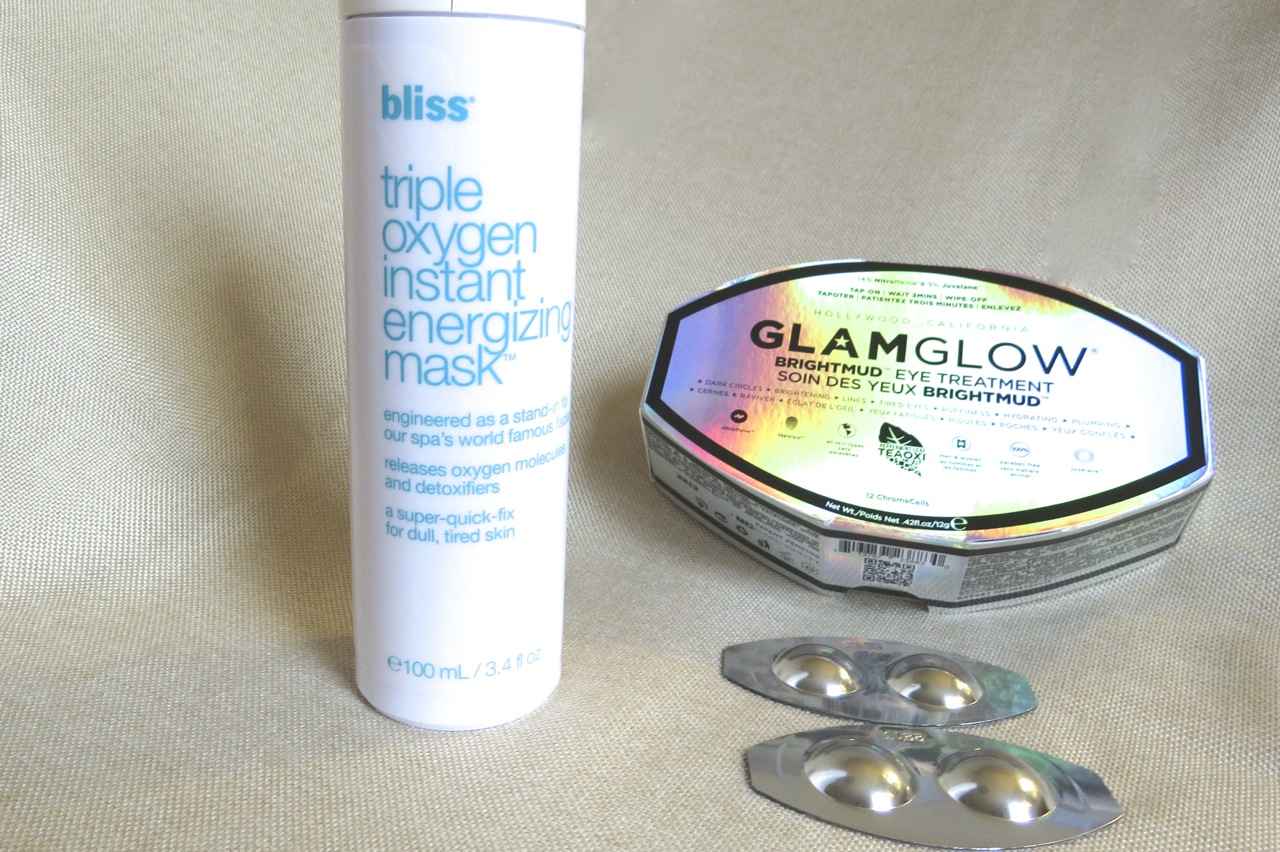
Bliss Triple-Oxygen Energizing Mask is my go-to fix for dull skin. Vitamin C brightens and tones, while some sort of magic fizz pumps skin with oxygen (what? I’m not a doctor). Hey, when my skin looks this good after five minutes, you could tell me Voldemort himself mixed this batch and I’d still be like, yes put that on my face now, please and thank you.
For tired, bloated eyes, GLAMGLOW Brightmud Eye Treatment is another trick of the I-don’t-care-how-this-works-as-long-as-it-makes-me-pretty variety. Each pod contains two individually sealed scoops of product; the serving is generous enough that you can use one pod for both eyes to stretch each box twice as long. The tingly caffeine blend stimulates lymphatic drainage to tighten and diminish puffiness and dark circles, while brisk peppermint brightens and soothes.
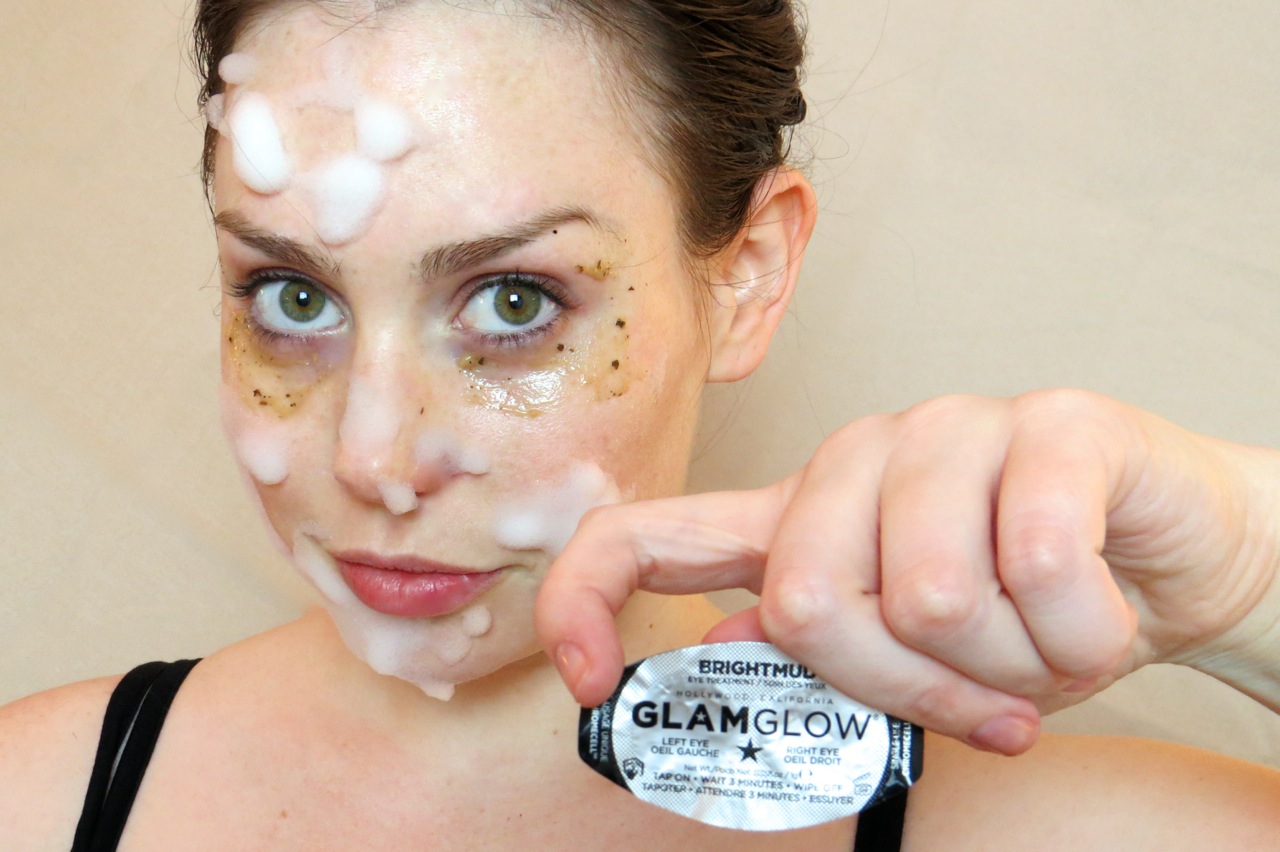
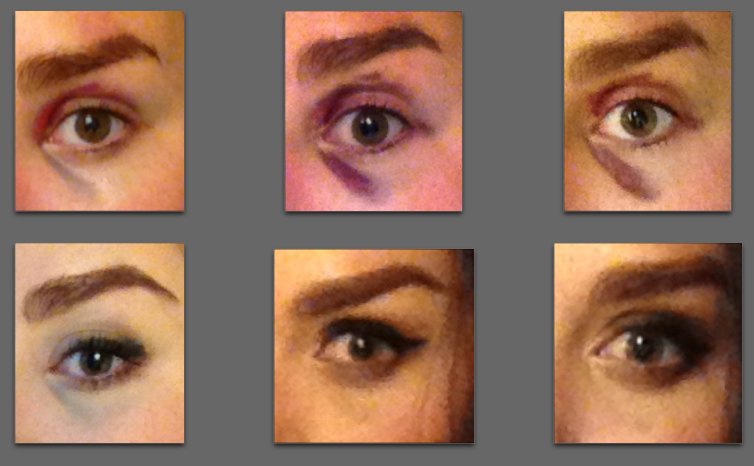
Wear ‘em at the same time if you wanna look this cool (why am I putting these pictures on the internet, again?)
Step 4: Quench that thirst
Now that you’re bright and tight, let’s hydrate! …sorry about me
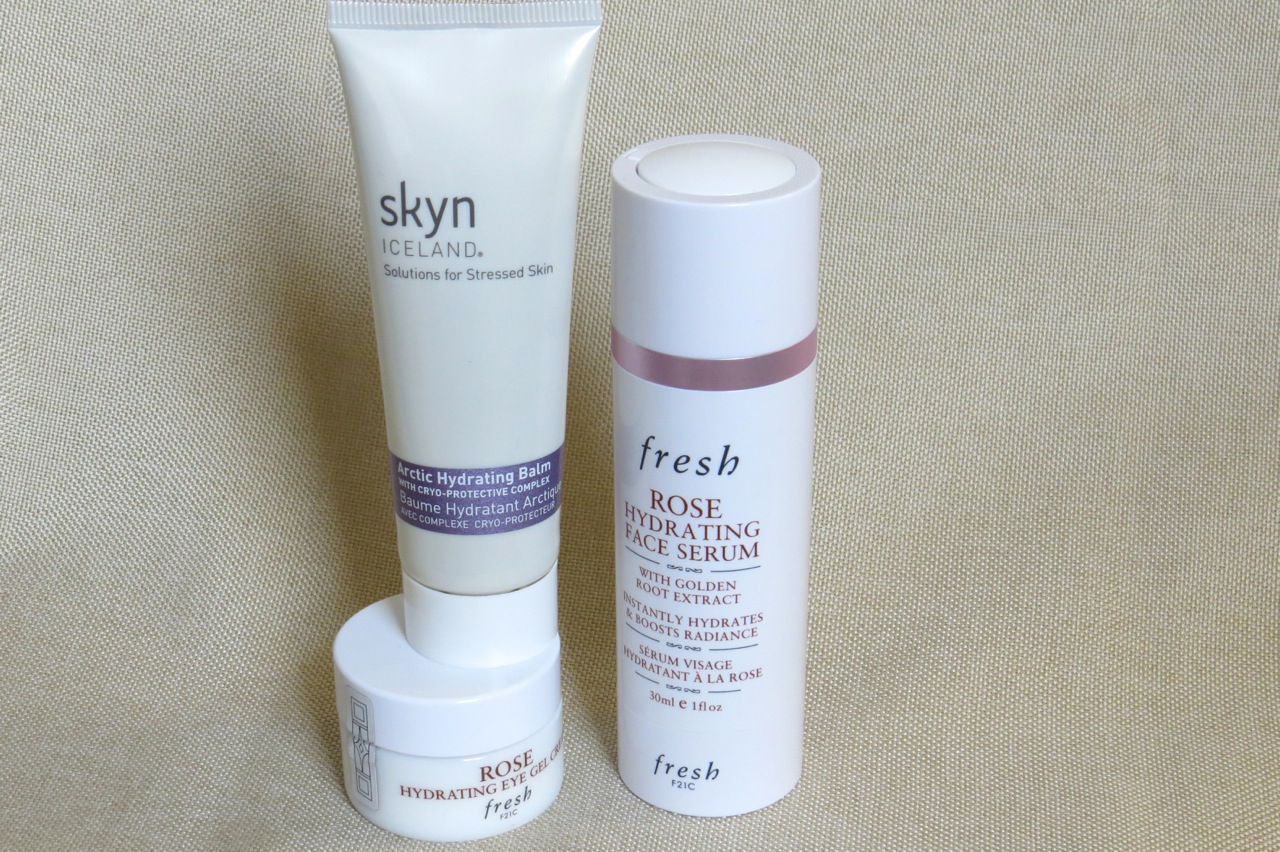
Cucumber extract makes this Fresh Rose Hydrating Face Serum your hangover godsend: it instantly hydrates, cools, and soothes–the perfect targeted emollient under moisturizer. And Fresh’s new Hydrating Eye Gel Cream boasts the same dreamy scent and instant hydrating relief. Extra points if you’ve popped it in the fridge before heading out for the evening (pshyeah, like you’d remember when you got back). Then seal the hydration in with Skyn Iceland’s Arctic Hydrating Balm, which calms inflammation, repairs dryness, and protects against free radicals (eczema sufferers, take note!).
Step 5: Creating the illusion

ILLUSIONS, Michael. Tricks are something a whore does for money. (and drugs)
The Canvas
Too Faced Hangover Replenishing Primer contains coconut water, probiotics, and electrolytes to replenish moisture levels (just like the sports drinks and Whole Foods concoctions you should probably be drinking right about now). I’m obsessed with this primer–it smells like a tropical milkshake, makes skin look red-carpet-dewy, and creates a smooth, long-lasting surface for makeup.

Did I write the adorable copy for this? … maybe.
Hourglass’ tinted-moisturizer-like Illusion Hyaluronic Skin Tint harnesses Hyaluronic Acid’s water-binding molecules to plump skin and disguise fine lines, while “pearlescent pigments” impart the subtlest luminescence (in other words, no risk of blinding anyone in direct sunlight. UGH, direct sunlight).

Eve Lom Light Illusion Concealer pen: a lightweight brightening concealer similar to Touche Eclat
Under Eye
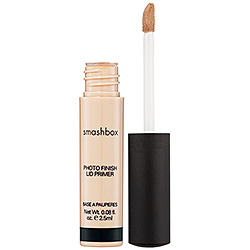
Smashbox Photo Finish Under Eye Primer hydrates and keeps concealer from caking into fine lines. Photo Op Under Eye Brightener refracts light away from dark circles and can be used as a highlighter on the cupid’s bow, bridge of the nose, and cheekbones. Draw a long triangle with your concealer from the inner eye corner (the darkest part of the face) down to the redness-prone outer corner of the nose and back up under the middle of eye, then blend. If you like to set with powder, Smashbox Halo is an anti-aging mineral powder that actually hydrates and never looks cakey. I will buy Halo until they stop making it or I die, whichever comes first (hopefully the latter).
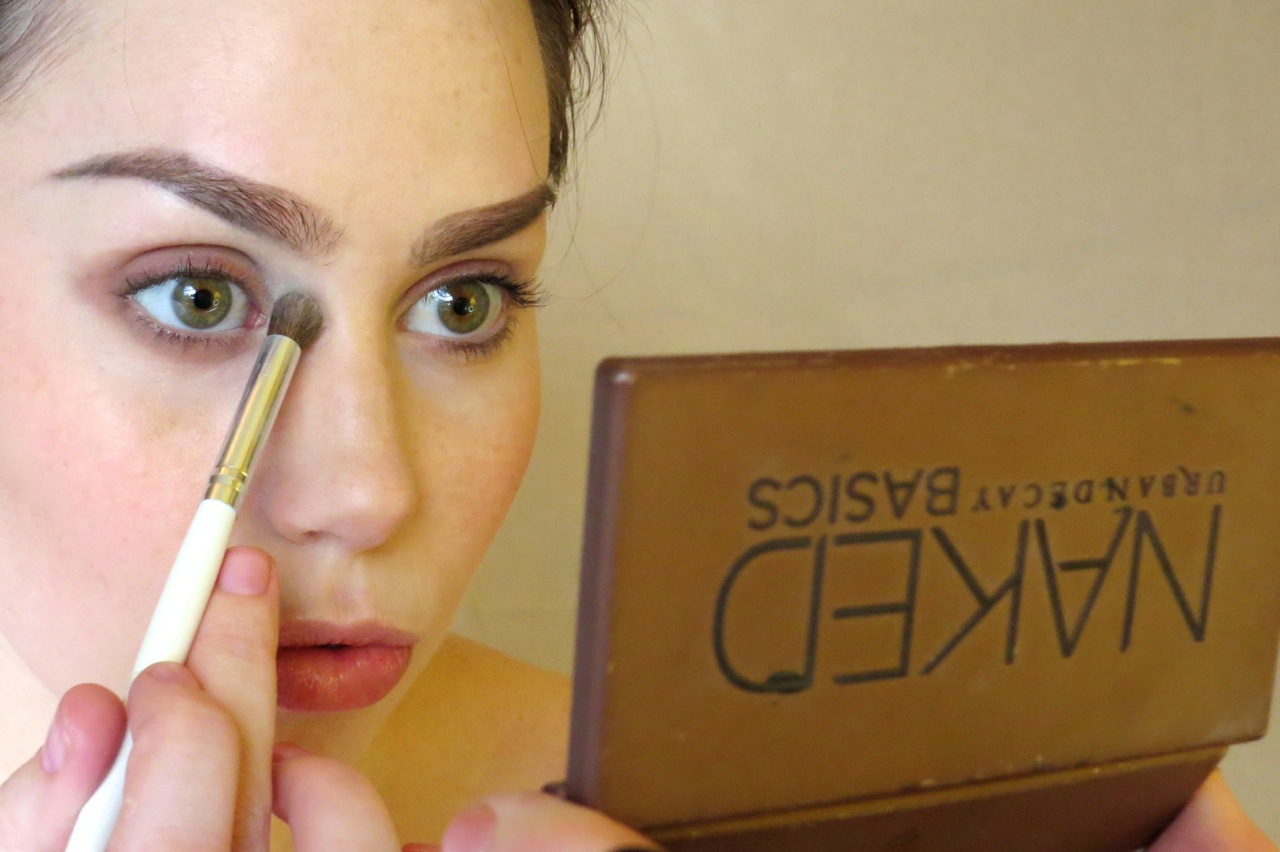
This Urban Decay Naked Basics palette is “well-loved”
Eyes
Find a matte shadow that’s a few shades darker than your skin tone (brown shades like fawn, tawny, and espresso look most natural). With a short-bristled brush, smudge the shadow along your lower lash line; this will camouflage any remaining puffiness by making the area appear to recede.
Blend a light, slightly shimmery shade into the inner eye corners to neutralize dark shadows. Then fill in your lower waterline with a nude eyeliner (white can look too stark and obvious). This will make eyes appear wide awake and, more importantly, conceal those telltale red rims that scream “late night!”
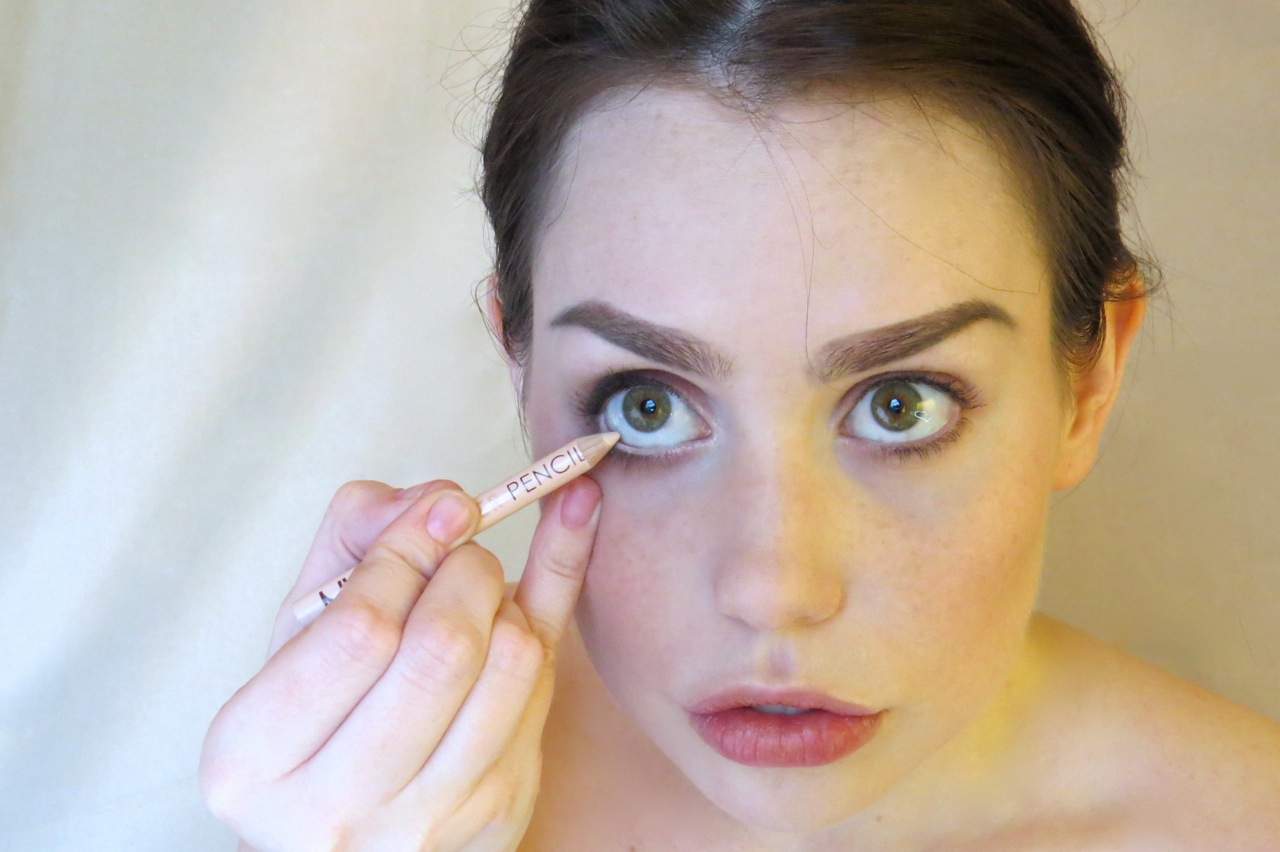
Slooooowly and with great concentration
Curl your lashes and apply a couple coats of mascara–the darkest black you can find will make your eyes look brighter (Too Faced Better Than Sex is “carbon-black”-dark, just sayin’).
Hair
Unclip your twists, shake ‘em out, and work any remaining dry shampoo into your roots. Your waves may need more texturizing spray, but don’t brush unless you want to look like Mia Thermopolis pre-makeover. Hey, you do you.
Glamour shots by Deb
Your saviors
Pack these for midday emergencies: Sephora Blotting Films for inevitable afternoon sweatiness, Lush Eau Roma water to rehydrate, soothe, and perk you back up, and Skyn Iceland Icelandic Relief Eye Pen to keep puffy, tired eyes from reemerging.

I know whereof I speak
What’s your hangover cure? I need it … for reasons.
*full disclosure: author has since been employed by Too Faced cosmetics as a copywriter. This post was written & scheduled prior to that, plus author knows her shit, so don’t even worry.
**also, author is not an alcoholic, but she did have some interesting college times.


