Today’s post was inspired by the text message I woke up to this morning.

She knows me well: flattery will get you everywhere.
Anna is one of my dearest friends. She’s in her second year of med school and barely has time to brush her hair, so we’re gonna make this simple. It seems that for all her intellect and talents, nobody ever taught Anna how to be “a girl” (in the colloquial sense; leaving aside the fact that there are hundreds of ways to be a girl and no one way is better than another). She texted me the other day about sunscreen.
“What’s your skin type?” I asked. “Uh. Hapa [mixed race]?” she replied. Adorable. Finally something I can teach her.
So, this is for all the Annas out there (including the original one). Oh! And get ready, because another not-so-makeup-savvy friend of mine has requested that I take her shopping for a complete makeup wardrobe, and I’m roping my fantastic photographer friend into documenting the excursion. It’s going to be like Christmas. Stores will be pillaged. Faces will be painted. Wallets will be emptied. Coming soon to a web browser near you.
Your skin is your canvas
Okay, so the biggest beauty tip I can give you is TAKE CARE OF YOUR SKIN. Your skin is your canvas. A beautiful painting on a lumpy, discolored canvas will not be nearly as beautiful as one on a smooth, even-colored one. Obviously there are ways to cheat this system, and they involve primers, foundation, and concealer (I’m happy to do a post on these if the consensus is that one is necessary). But the best thing you can do for your appearance is as simple as taking care of your skin. You need a cleanser and a moisturizer. Don’t argue with me, you do. And Anna? Soap is not a cleanser.
 As previously mentioned, I like Philosophy’s Purity because it’s gentle and is a good multitasker: it cleanses, tones, and removes eye makeup. You can get a small bottle for $10 at Sephora/Nordstrom/Bloomingdale’s etc. if you want to try it before you commit to a larger bottle. For those of you who are new to the cosmetics game, multitasking products are going to be your best friend: wallet-friendly, simple, and no-nonsense. If you’re shopping in Walgreens or Target, look for a product that does all of these things. It’s all about checking the labels.
It’s good to have some exfoliator on hand to slough off dead skin cells 2-3 times a week. St. Ives Invigorating Apricot Scrub is a classic for a reason (and at $3, it doesn’t hurt to toss into your cart). Make sure you rub it into your skin very gently, as the grains are large. I’d recommend having both a cleanser and an exfoliator, but if you’re only going to buy one, make it the cleanser, and exfoliate in the shower with a washcloth.
Okay, next thing you need is a moisturizer. The mistake a lot of women make is thinking that because their skin is oily, they don’t need a moisturizer. WRONG. If you under-hydrate your skin, your glands will try to compensate by creating excess sebum, which means MORE OIL. Keep everything balanced by applying an oil-free moisturizer after cleansing in the morning and after cleansing right before bed (yes, you need to do both). If you’re on the dry side, you want your moisturizer to be hydrating (packages with anti-wrinkle claims will be heavier and more moisturizing).
Where should you find this moisturizer? The drugstore can be daunting — all that bright packaging, all those grandiose claims … just keep in mind what you want out of your product. Are you worried about wrinkles and fine lines? Spots? Balancing your complexion? Brightening? The package will tell you what the product is meant for (duh).
Honestly, though — and this is not me being a snob — you really should go to a department store or Sephora. The staff are trained in the products and in basic skincare knowledge, and they will be able to make sense of your babble — they decipher this stuff all day. As I mentioned, I have a post on how to deal with shopping at department store counters percolating, but here’s the gist: tell the salesperson up front that you’re new to this stuff and you need to try a few different samples to decide what you want to invest your money in. And make no mistake, moisturizer is an investment. If you find one that your skin loves, it’s absolutely worth it to shell out a few more bucks — after all, cheesy as it sounds, you’re investing in your future skin. And if you’re using it correctly, a jar or bottle should last you 3-6 months, depending on the quantity and the product.

She may have terrible taste in eyeshadow, but she knows what she’s talking about.
So make sure you impress upon the salesperson that you need to try a few different kinds before you buy. He or she will want you to buy something that day — they have a quota to fill, after all — but if you explain that you need to try a few kinds first, any good salesperson will understand and be happy to help you find something you love. If they’re not, find someone else. Sephora is especially great for this kind of thing, since “cast members” (that’s what they’re called, I kid you not) don’t take commission and aren’t shilling for any particular brand. Sephora employees get gratis (free stuff) after every training, so they’ve usually tried the products they’re recommending and know the science behind them.
3-6 samples should be plenty (don’t be greedy, it’s not cute), and you should try each sample for several days (as long as the sample lasts you) before switching to the next. Pay attention to how your skin feels immediately after putting it on as well as how it looks and feels when you wake up in the morning.
The fun stuff: Face
 So you’re naturally pretty, but you want to look a bit more polished. Well, guuuuurl, you’re gonna love tinted moisturizer. Remember how I talked about multitasking products before? This is the mother of all multitaskers. Moisturizer, sunscreen, and a hint of tint to even out your complexion, all in one product. When you wear this during the day, you can skip that awesome moisturizer you bought earlier and save it for nighttime (cell turnover naturally occurs at night, which massively increases the effectiveness of whatever you put on your skin. Save the heavyweight repairing stuff for nighttime, and focus on protection during the day).
You might encounter a product called BB Cream, which purports to be all of those things plus various treatments. So far I haven’t found a BB Cream that I like — the one-size-fits-all (or -many) tends to look kind of grayish on many skin tones. I’d stick with tinted moisturizer.
Some great tinted moisturizers are Laura Mercier (cult favorite for a reason and comes in different formulas for different skin types — and by the way, it’s pronounced “MERSE-ee-ay”. Now you won’t sound stupid when you ask for it), Jouer (this what I use currently — lightweight with the tiniest hint of illumination), Smashbox (packed with good-for-you skin ingredients like green tea and peptides). This is another product that department stores and Sephora will excel at helping you pick out, although the nice thing about tinted moisturizers is that picking out a shade is a lot easier — there isn’t as much pigment so you don’t have to worry about finding an exact match like you do with foundation. If you’re torn between shades, I always go with the lighter shade, because you can always brush on some bronzer, but it’s almost impossible to lighten a too-dark mask.
 What’s bronzer, you ask? This stuff will give you some polish and glow without the potential for the made-up look that blush can sometimes have. Benefit Hoola is my favorite for its fine texture and natural (matte) look, but you don’t need to be too picky with bronzer- the drugstore kind will work just fine. Use a light hand and apply with a brush (fan brushes give a nice sheer coverage, but you can use pretty much any kind as long as you’re sparing) to the areas of your face that the sun would hit (forehead, nose, cheekbones, a tiny bit on the chin). You can also brush it over your collarbone and shoulders for a nice sun-kissed glow. For a natural look, use a matte powder. For more drama, you can experiment with shimmery shades. Make sure that it’s blended well before leaving the house (this goes for everything you put on your face, by the way).
Eyes

Something like this.
If you use only one eye product, make it mascara. Brown mascara is okay if you want a super super natural look, but most people look best in black. Now the deal with mascara is that it’s 30% formula and 70% wand style. I’ve found that the easiest, least clumpy wand style is a plastic wand with little nubby prickles all over it (Oh dear. Now this sounds like an entirely different type of blog).
My favorite mascara on the planet is Chanel Inimitable Intense ($30), because it has that clump-free wand and a thick formula that’s easy to build upon. Unfortunately, it’s also thirty freaking dollars, and mascara needs to be replaced every three months minimum (I’m serious about this, Anna). A similar, almost-as-good-but-more-natural drugstore version is Maybelline Define-a-Lash ($7).
It’s easiest to apply mascara in a hand-held mirror so you can really see what you’re doing. Hold it slightly low so you can look down at it while you’re applying. Make sure you get the brush right in close at the roots of your lashes and wiggle as you comb through to the ends (mouth open optional, but likely). Let it dry for a few seconds and then apply as many coats as you like until you get the drama you’re looking for. Don’t let it dry completely between coats. If it gets clumpy, you can comb through with a lash comb (I like the ones with metal prongs for more precision) or a clean mascara wand.
If you want a little more oomph, smudge a bit of liner into your lashline to make your lashes look thicker (brown, black, or gray will look the most natural). Pencil is easier and more forgiving, liquid liner is more dramatic and precise (you’ll need to practice). Again, all about blending. If you want it to look natural, don’t leave any hard lines. Blend with your finger, a short-bristled shadow brush, or a Q-tip.

This could happen to you!
Oh! And the easiest way to make your whole face look polished is to get your brows done. Use Yelp to find a good salon near you, or ask your friends with great brows (bonus: if they do their own, they might offer to do yours). It’s a simple, one-step way to frame your whole face. Trust me on this one. And be wary of doing it yourself if you don’t know what you’re doing— brows are easy to screw up, and while brow pencils and brow shadows can help disguise fuckups, they’re slightly more advanced as far as doing your own makeup goes. Don’t be a hero.
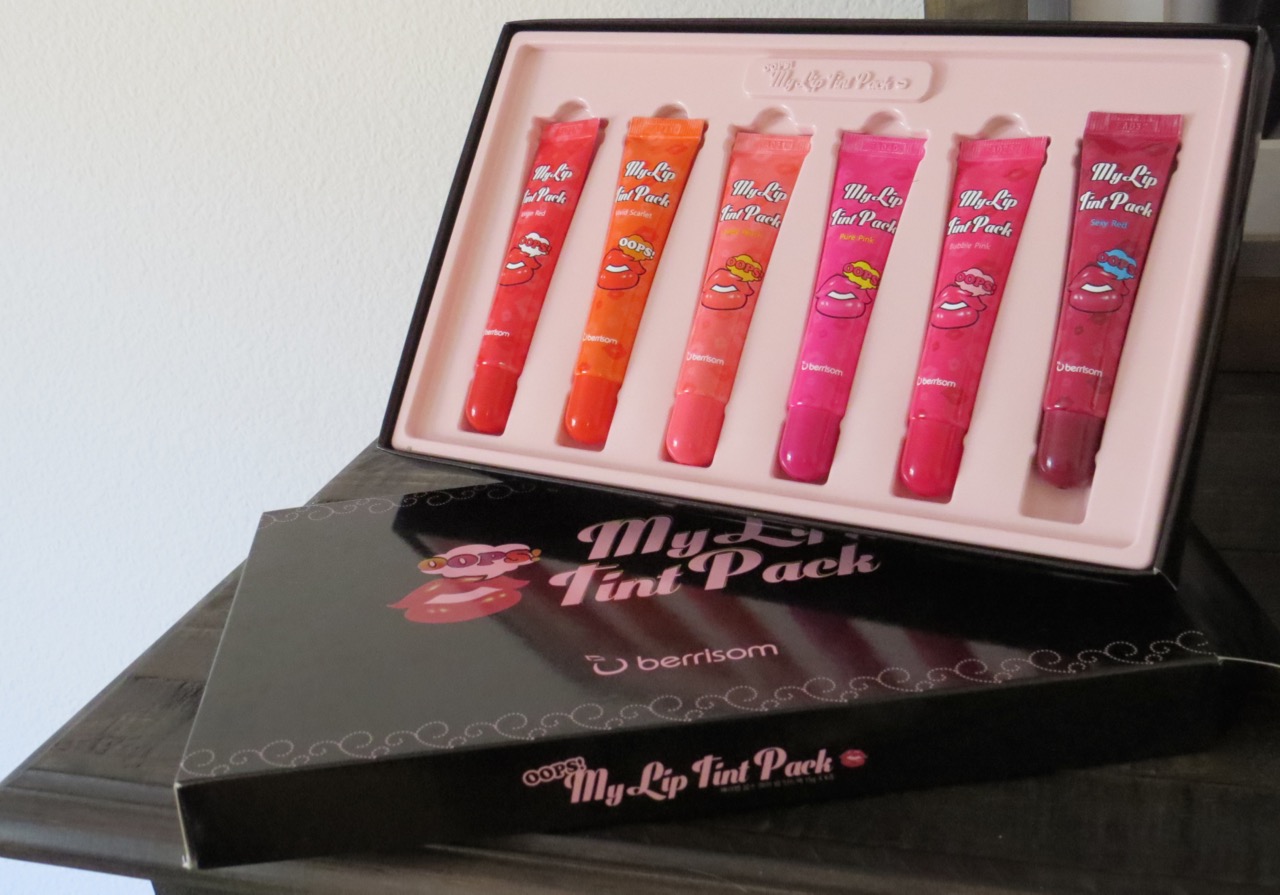
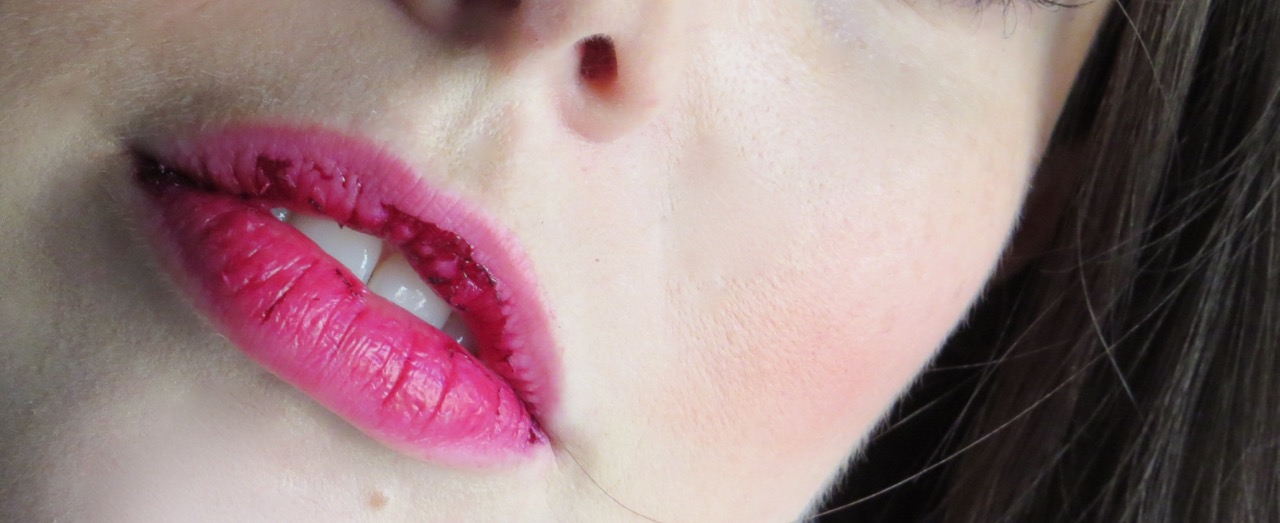
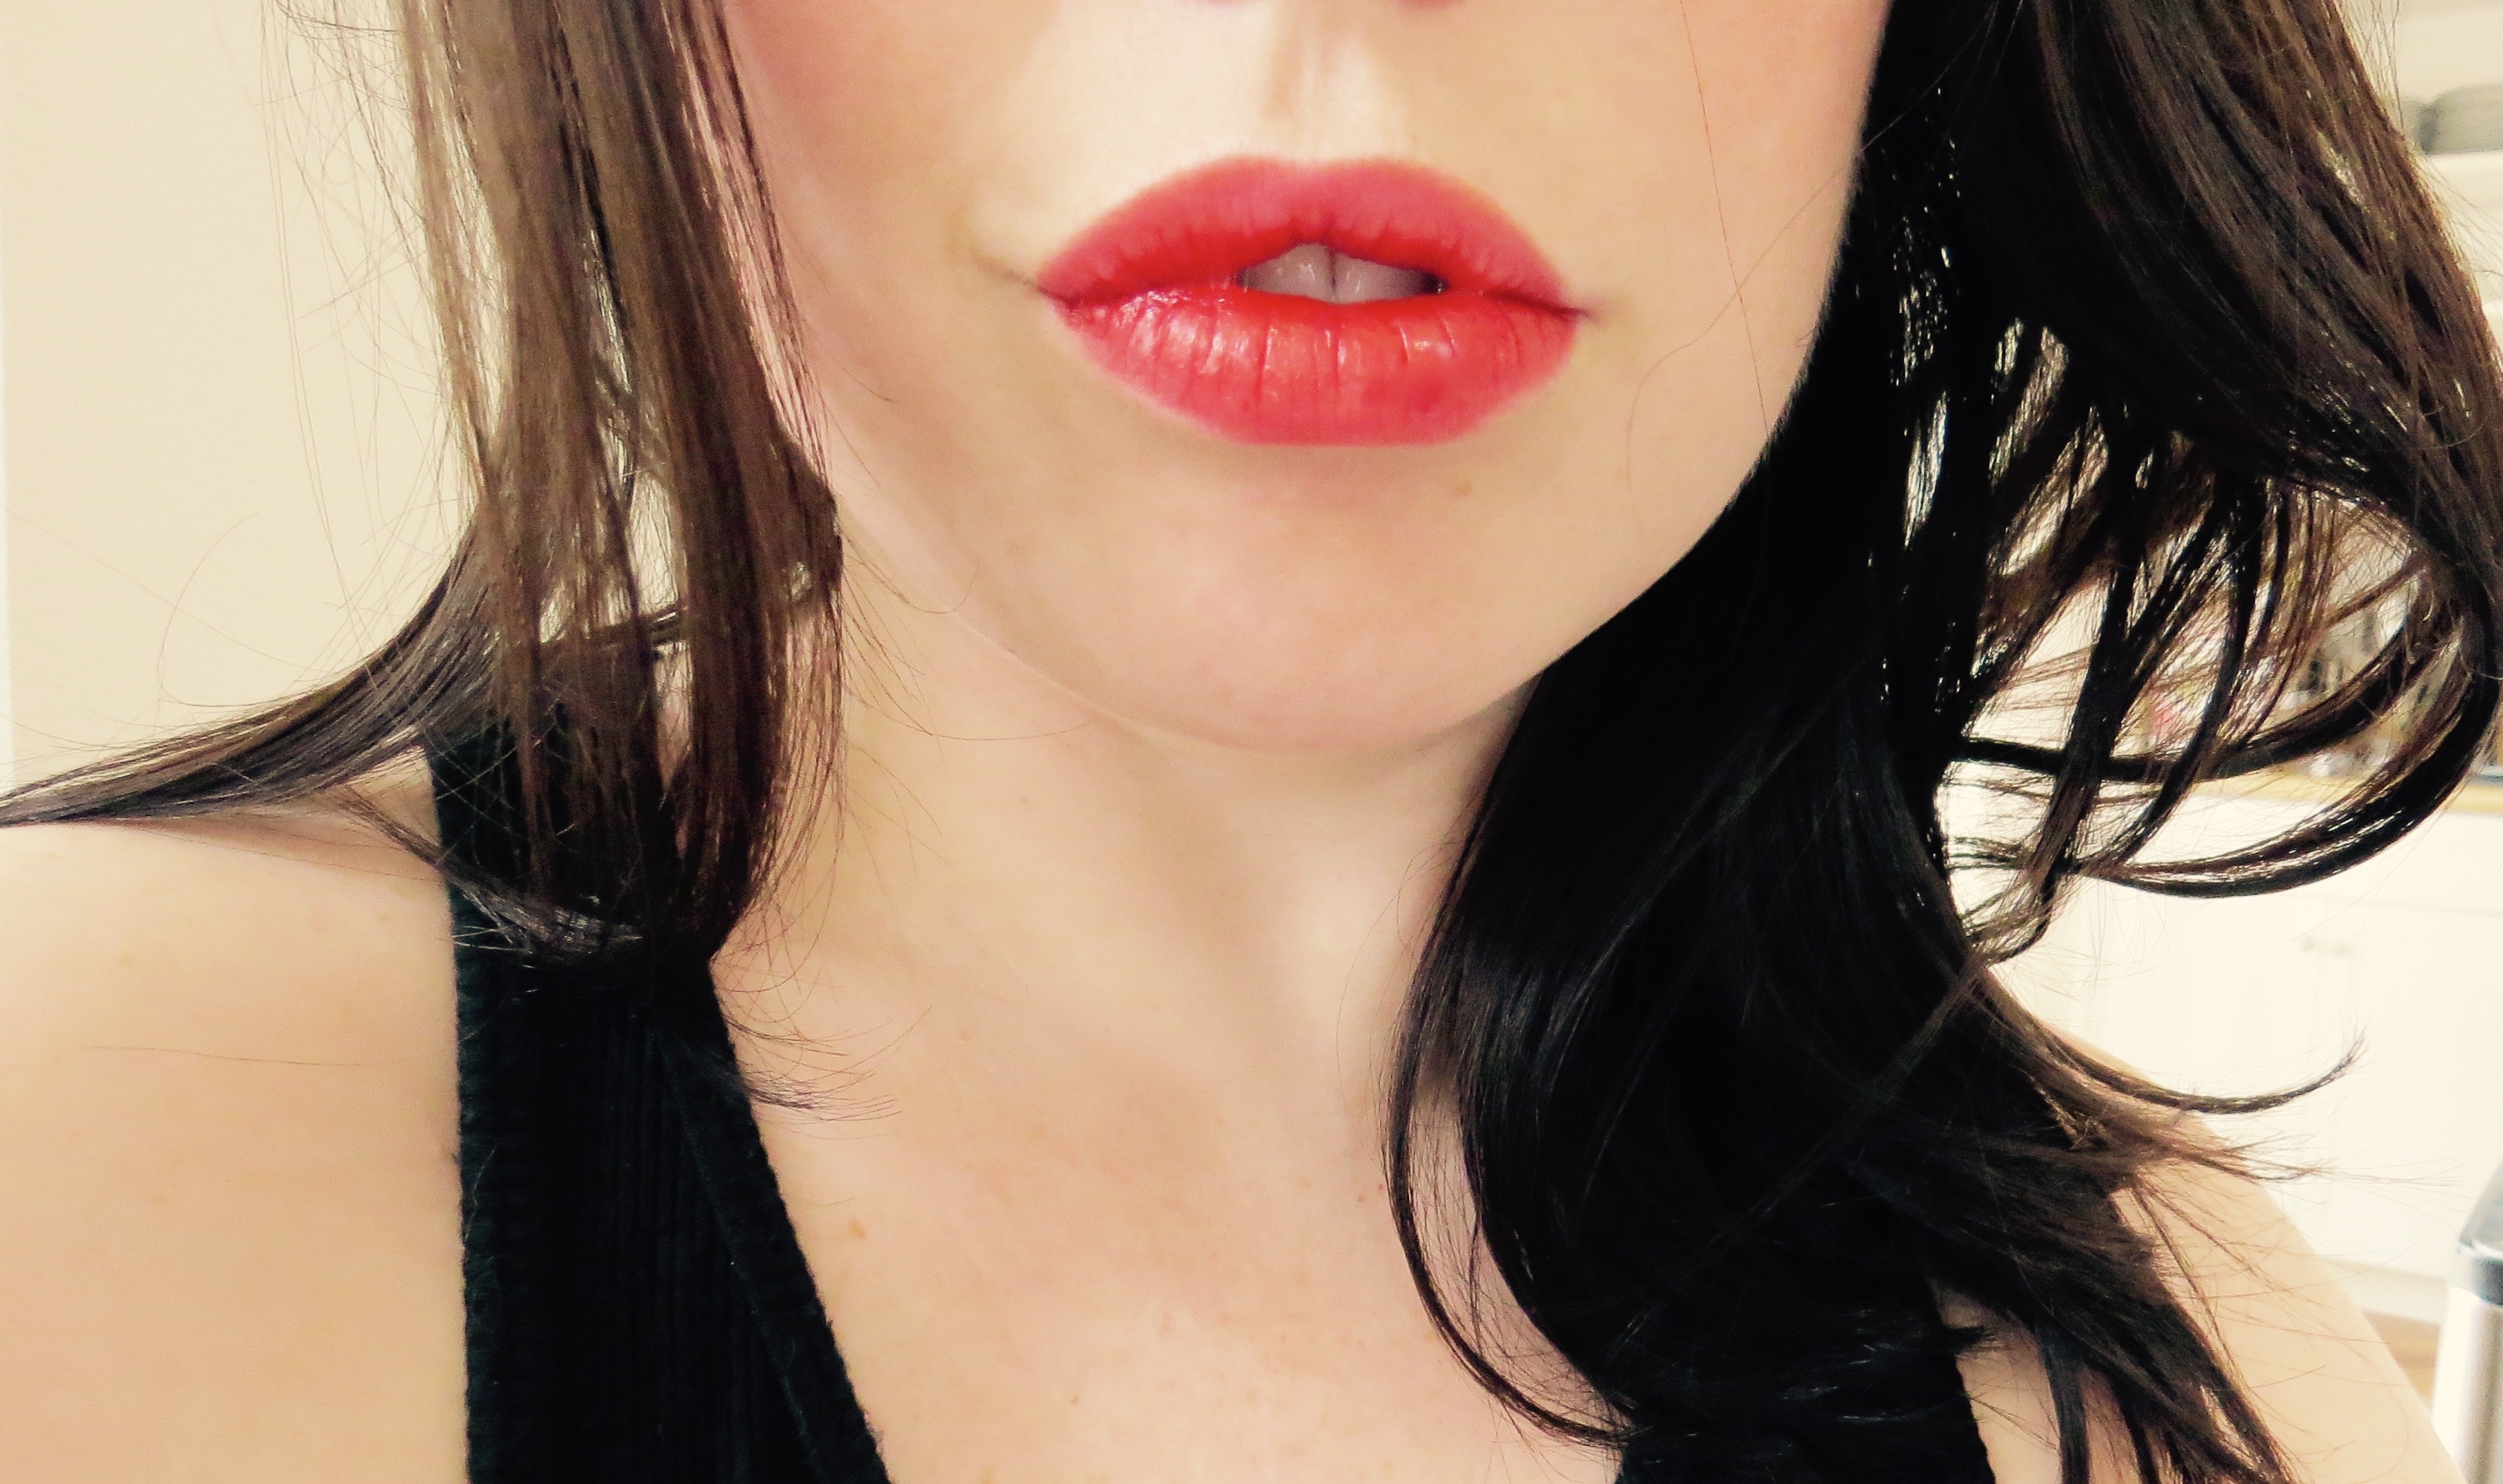
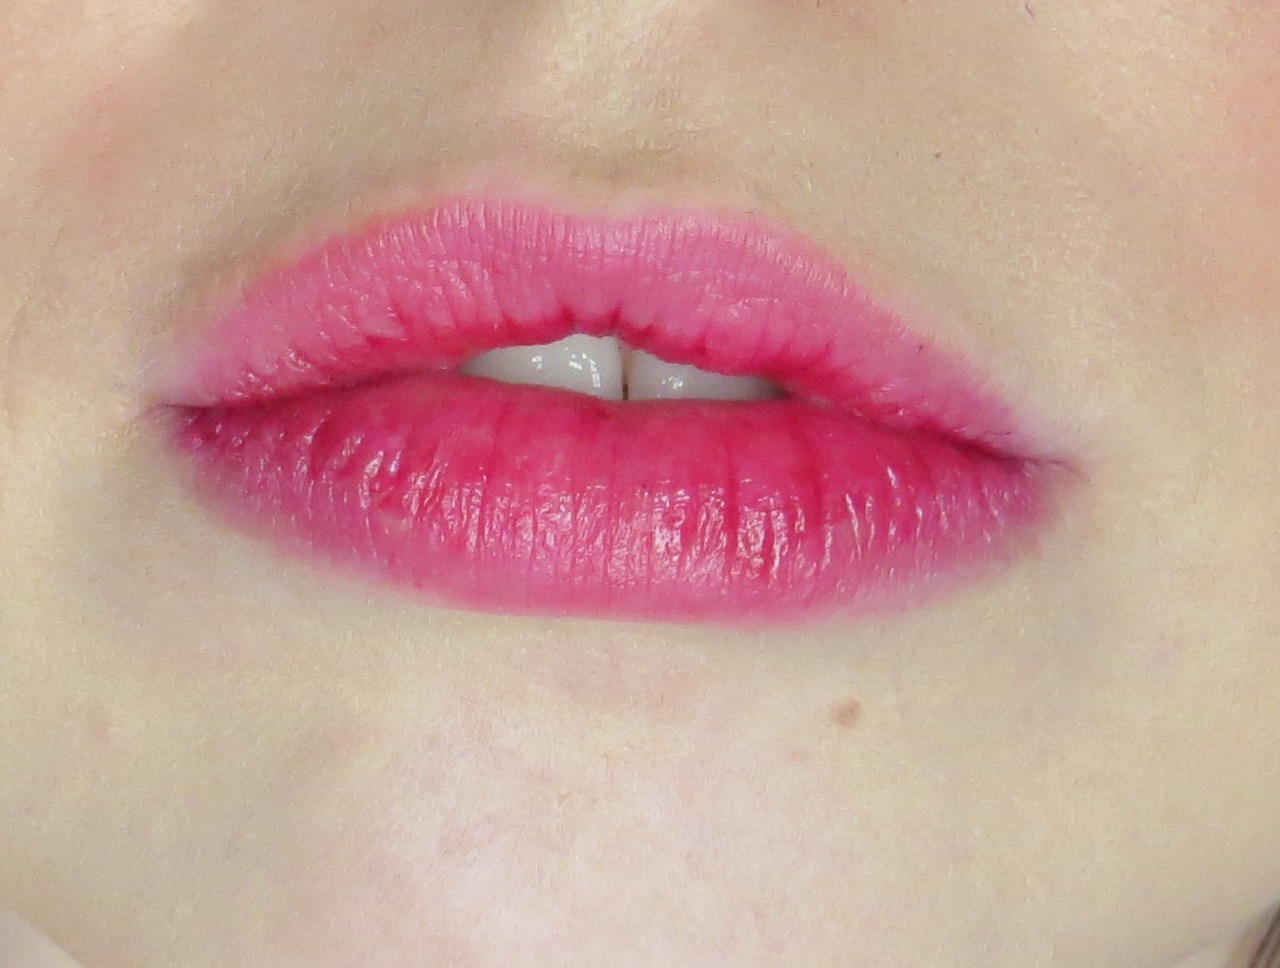
Lips

My longest-standing love affair.
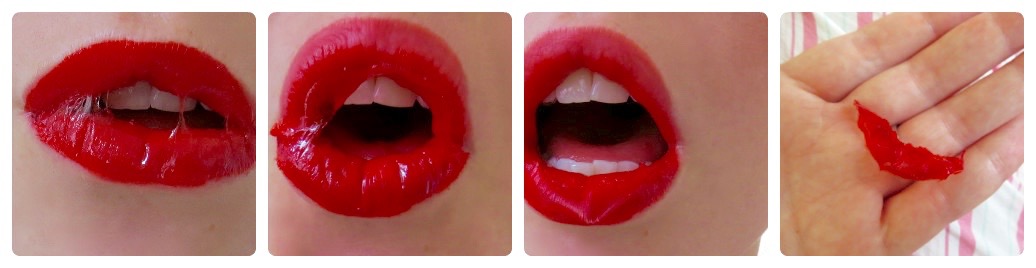
Lips are really where you can let loose and get creative. It’s all about the type of look you want and the finish that feels best to you. Some people feel like gloss is too sticky (and if you’re a self-professed tomboy, this is probably you), and others feel like lipstick can be too dry. If you’re new to wearing stuff on your lips, a tinted lip balm is a nice place to start. Try a brown-based shade one or two tones darker than your lips for the most natural look. Some good ones: Burt’s Bees ($7), Tarte ($24), and the classic Dr. Pepper Lip Smacker($2 — I swear every makeup-obsessed girl either has this in her bag currently or started with it in junior high). If you want to play around with glosses or lipsticks, head into a Sephora or department store, tell them “Thanks, but I’m just checking out some shades,” when they ask if you need help, and draw all over your hand and hold it up to your face. It’s not a perfect way to find out what will look best, but you’ll get a feel for the texture, and it’s much more hygienic than putting it on your face. Bonus: Most department stores and Sephora will let you exchange any products you’re not stoked about (even if you’ve lost the receipt). Don’t abuse it, but don’t hang on to a product you paid good money for and don’t love.
In conclusion
This whole process from cleansing to finishing touches shouldn’t take you more than ten minutes once you get it down. And like I always say, makeup should be fun. There’s no need to be intimidated; it’s not rocket science. Utilize salespeople, they’re there to help you (and don’t be bullied into buying something you don’t want to buy — like I said before, a good salesperson wants to help you find something you love). Play around, make mistakes, have fun with it — it washes off. The sooner you stop thinking of makeup as something you “don’t know how to do” and start thinking of it as a fun tool you can mess around with and whip out when you feel like it, the better. Makeup is like any other skill: you won’t know how to do it until you dive in and get your hands dirty.